PREVIOUS: Why can’t I access my Cisco firewall through a web browser? (Part II)
In part 2 of our series, we explored whether or not the ASDM image was linked in the firewall’s configuration. And if not, how to create that link. We also checked whether the image even existed on flash with the SHOW DISK0: command. Part 3 explores the possibility that the image file is missing and what is required to remedy this situation.
To upload an ASDM image to flash you need to use a TFTP server.
I highly recommend using SolarWinds TFTP Server. SolarWinds provides this tool free of charge. It has a tiny footprint and is easy to use. This is the tool we will use in our guide. http://www.solarwinds.com/downloads/
You will also need to download the ASDM image that is compatible with your firewall model. To obtain this image, visit www.cisco.com and navigate to the Download section of their website.
Let’s open SolarWinds TFTP Server.
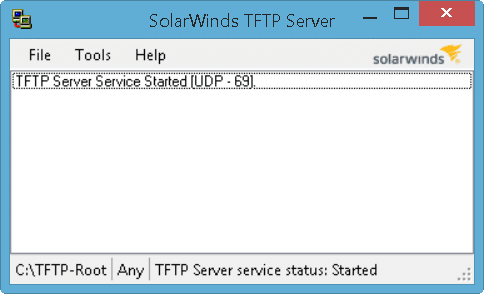
Right away we can see that the TFTP Service is already running on UDP port 69. (Be sure to check that your local workstation firewall is not blocking this port. If so, make the necessary exceptions. )
Let’s confirm the path to our TFTP root directory. This is the location where the TFTP Server distributes files. To check, go to the File menu and select Configure.

The default path is C:\TFTP-Root. Copy your ASDM bin file that you downloaded from Cisco into this directory. Next, from the Cisco CLI type the following command.
COPY TFTP FLASH
This will then prompt you for the IP address of your TFTP server.
Address or name of remote host []? <IP ADDRESS>
In our case, it is our local workstation. I recommend you place your workstation on the same subnet as your firewall’s inside interface.
You will then be prompted for the name of the file you wish to upload.
Source filename []? <ASDM-version.BIN>
And what to name it on the flash. I typically leave the name the same. So just hit enter here to accept the default.
Destination filename [ASDM-version.BIN]? <enter>
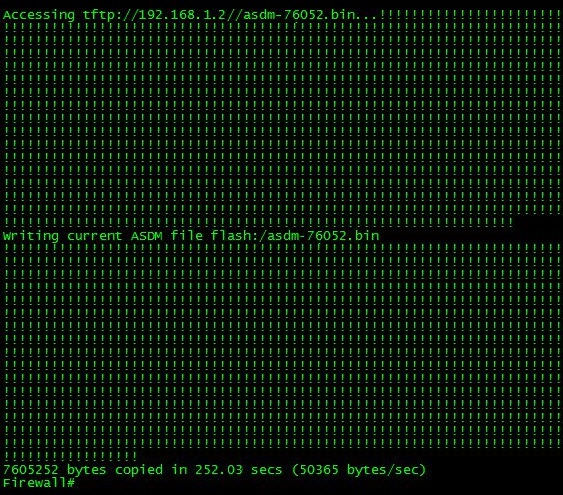
At this point, the image will then be copied to flash. By default, this is disk 0. This can take a few minutes. A successful upload will look like the screenshot below.
You can then confirm the presence of the file with some commands we discussed back in part 2.
SHOW DISK0:
We then link the ASDM image with the following command, making sure we substitute <ASDM-version.bin> with the name of our actual file.
ASDM IMAGE DISK0:/<ASDM-version.bin>
Lastly, we check the presence of this linked file with:
SHOW RUN ASDM
And save our changes with
WRITE MEMORY
At this point check whether you can access the ASDM through your web browser.
Make sure you have the right security bundle
Tip: One rare scenario is that you only have the K8 bundle from Cisco. The K8 bundle only ships with the DES algorithm. Windows 7 and newer do not support DES. Windows 7 and newer require 3DES (triple DES) or AES. This is offered in the K9 bundle.
To check what version you have run SHOW VERSION from the CLI. See if 3DES reports as ENABLED or DISABLED. Don’t worry, if you don’t have 3DES it is a free upgrade.
You can upgrade your license to K9 here: http://www.cisco.com/go/license
I hope this series has been of great help to you. As always I would love to hear from you, so be sure to leave a comment. If you have uncovered any other possible causes for being blocked out of the ASDM, drop a comment as well. I would love to hear what you did to fix it!

Leave a Reply