You just upgraded to Exchange 2013.
Congrats!
Now you plan to change the location of the database files.
You open the EAC, browse to the database tab, only to have trouble finding a way to move the database files.
Right-clicking the database does nothing. None of the buttons seem to indicate a way to do it. So, now what?
The big change
This all changed in Exchange 2013.
Moving the database and log files is only possible via the Exchange Management Shell (EMS). This differs from earlier versions of Exchange where you could do this from the GUI.
Don’t despair! If you are not a PowerShell wiz it is an easy thing to do.
I have created a short video explaining how to do this. If you prefer the written word I have those instructions below.
Move the database and log folder path
Go ahead and open the Exchange Management Shell.
Once open let’s get the name of the database. We do this with the following command.
C:\> Get-MailboxDatabase
You will get an output like the one below.
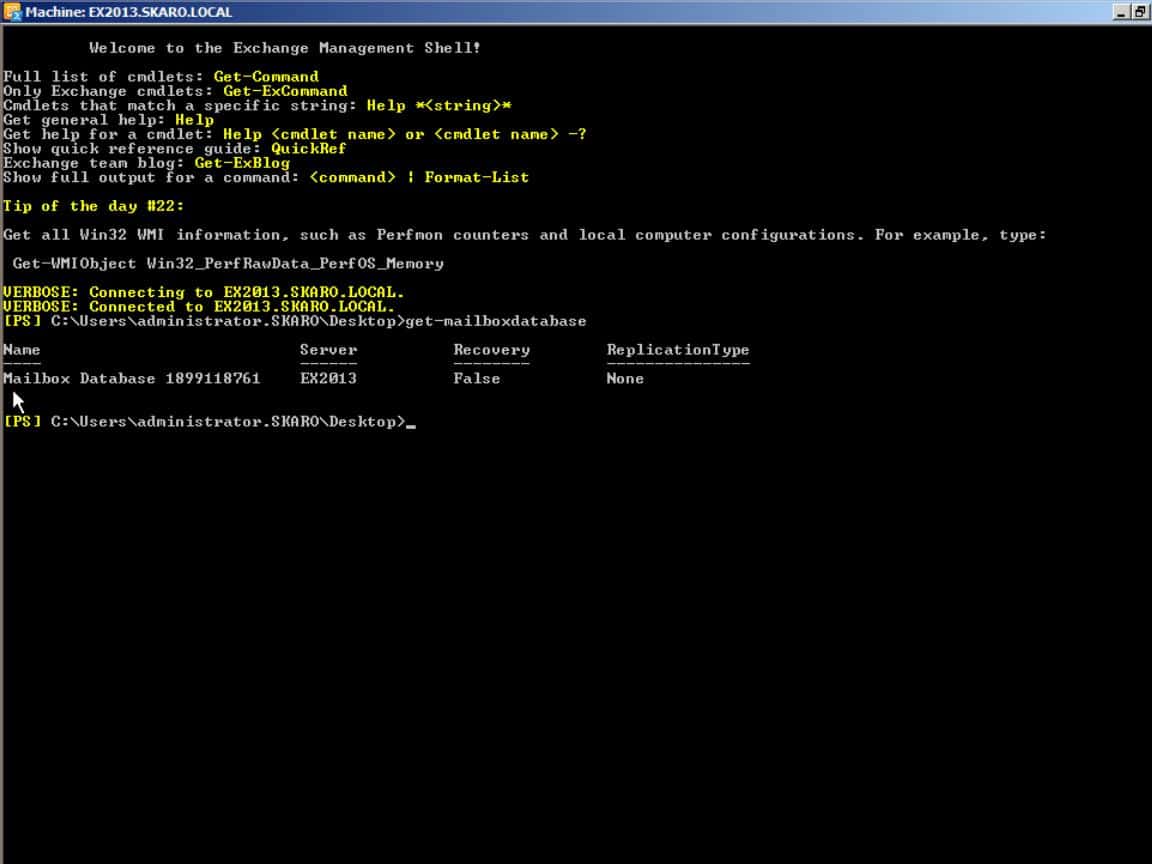
From our example, you can see the name of the database is Mailbox Database 1899118761. This name has spaces in it. We will need to surround it with quotation marks when identifying it.
To move both the database and log folder path we want to use the Move-DatabasePath cmdlet. Here is what the command might look like.
C:\> Move-DatabasePath -Identity "Mailbox Database 1899118761" -EdbFilePath "M:\Database\Dalek Database\Daleks Database.edb" -LogFolderPath "M:\Logs\Dalek Database"
In our example, we specify the database name from the Get-MailboxDatabase cmdlet. We then surround it in quotation marks because it contained spaces.
So what do the switches mean?
The -EdbFilePath switch specifies the new location for our database file.
The -LogFolderPath switch specifies the new location for our log files.
We have instructed both paths to be placed on the M: drive. Both paths also contain spaces. So, we have to surround them with quotation marks as well.
The original name of the EDB file matches the name of the database. This is Mailbox Database 1899118761.edb. During the move, our command will change this to Daleks Database.edb.
This folder structure currently does not exist on the M: drive. We don’t need to worry about prepopulating it either. The command will create these folders for us.
When we hit enter on this command it will prompt us twice. The first time whether we want to actually perform this move. The second to warn us that such a move will dismount the database and make it unavailable to users.
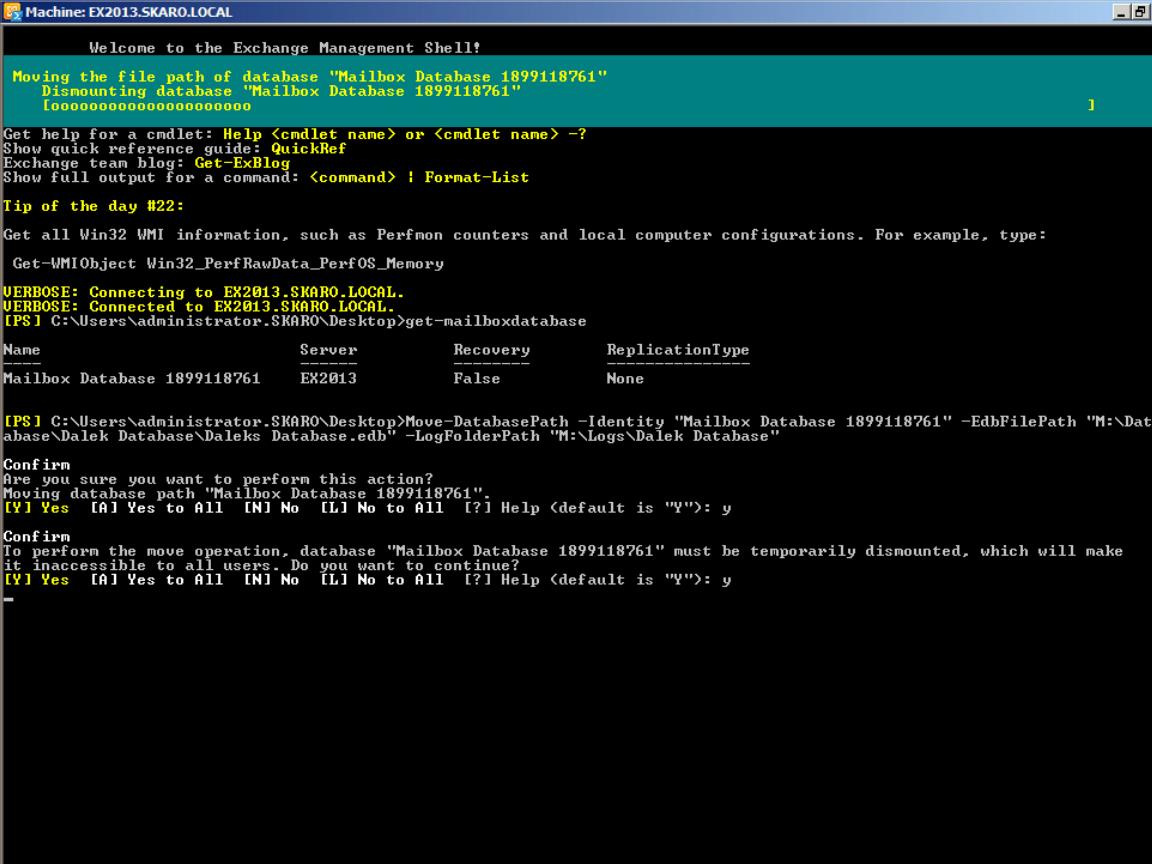
Hit Enter to accept both of these conditions. The database and log files will now be moved.
How long this takes depends on a number of factors. Including. the size of the files, the load on the server and the speed of the disk subsystem.
Once complete it will go back to a cursor prompt.
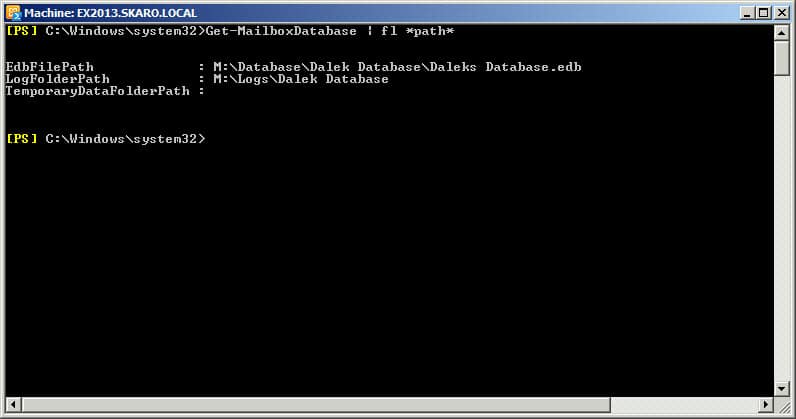
To confirm the move you can run the following command.
C:\> Get-MailboxDatabase | FL *path*
This will return the location of the database and log files.
You can also view this from the Exchange Admin Center.
Navigate to the Servers >> Databases tabs. Select the database and click the Edit button.
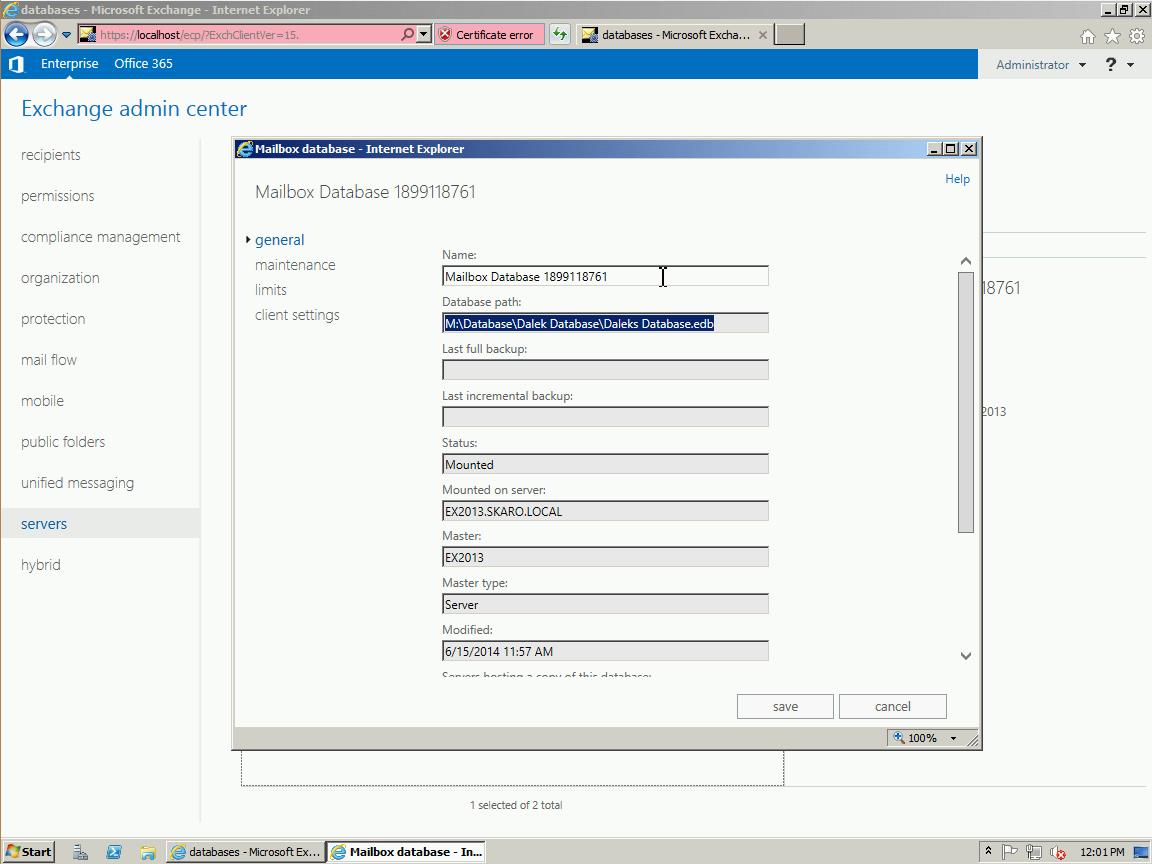
Database Name
If you want to change the name of the database, the easiest way is under the database properties screen shown above. Under the General tab change the Name field to what you desire (we changed ours to Dalek Database). Click Save and wait a few seconds for it to update.
All done!
Note: If you prefer to rename the database in EMS:
Set-MailboxDatabase -Identity “Old Name” -Name “New Name”
Did this post help you? Let us know how we are doing by leaving us a comment. Your feedback is always important to us!
We are also hoping to produce corresponding videos for many of our posts. If you find this valuable give us a like or comment on our YouTube channel.

Leave a Reply