In previous articles, we generated and completed a certificate request. Keep in mind that despite the request being completed, it is not yet live. We must still assign services to that certificate.
In this article, we will assign services to a certificate (affiliate) in Exchange 2016. We explore how to accomplish this using the Exchange Admin Center and PowerShell.
Let’s get started!
Note: The Exchange Admin Center steps to assign services to certificates are identical for Exchange 2013, Exchange 2016, and Exchange 2019. If you are using Exchange 2016 CU23 or greater or Exchange 2019 CU12 or greater, and you wish to use PowerShell, check this article for the updated commands.
Assign Services to a Certificate with Exchange Admin Center
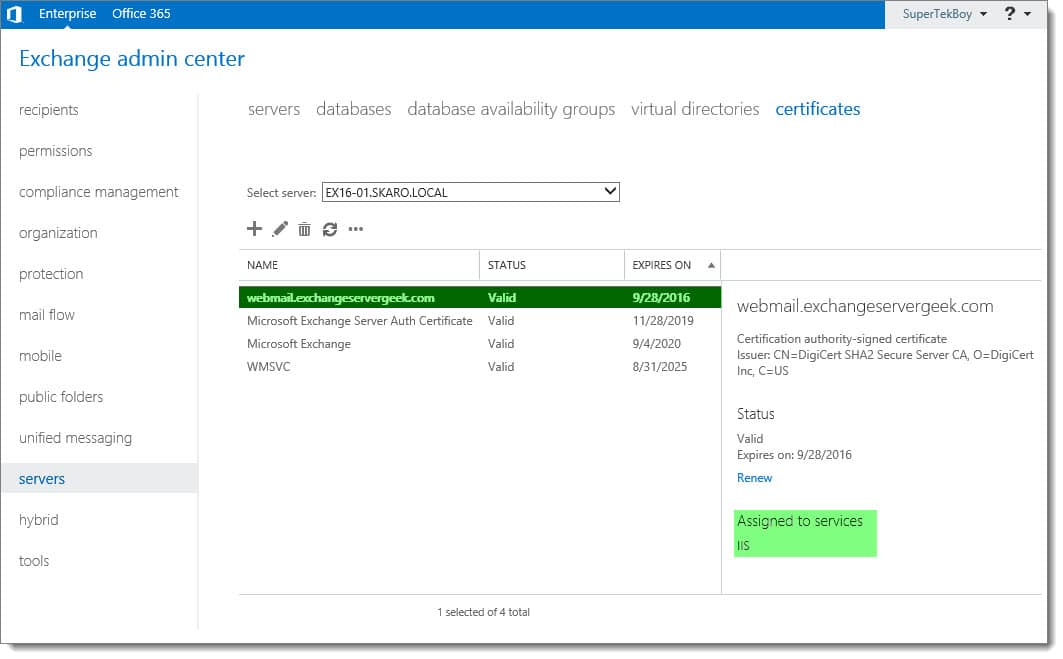
Log in to the Exchange Admin Center (EAC). Select the Servers tab and Certificates sub-tab.
Select your certificate and click the Edit (![]() ) button.
) button.

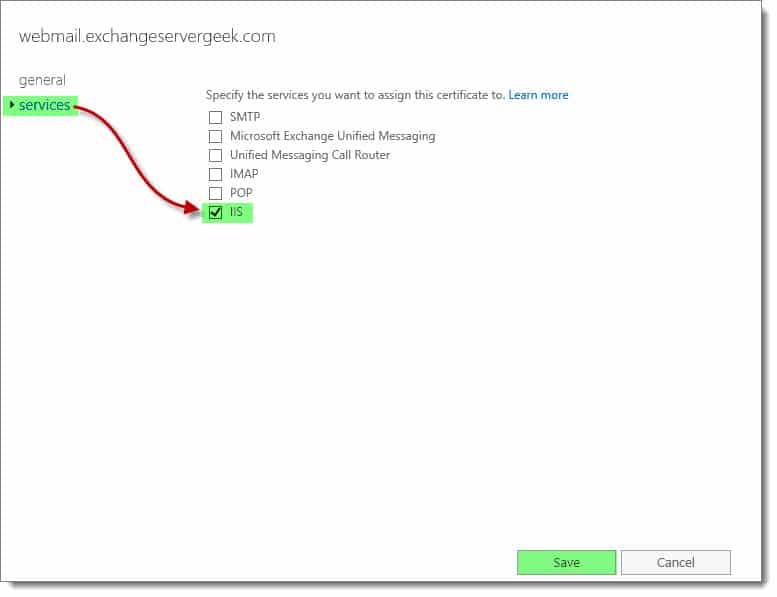
Select the Services tab. Pick your desired services. Click Save. In our example, we just picked IIS.
This may take a minute or so to process. Once complete, you will see the certificate has been assigned to the services you picked. In our case, IIS is now assigned to the certificate.
Assign Services to a Certificate with PowerShell
If you prefer to assign services using PowerShell, you would use the Enable-ExchangeCertificate cmdlet. Using our example above, our command would look like this:
C:\> Enable-ExchangeCertificate -Thumbprint <ID> -Services IIS
You can obtain the thumbprint by running Get-ExchangeCertificate.
In this command:
- -Thumbprint specifies the certificate to configure via its thumbprint.
- -Services define which components you want to use the certificate with (e.g. IIS, SMTP, etc.).
To verify the services have been assigned, run the Get-ExchangeCertificate command.
 C:\Users\supertekboy\Desktop>Get-ExchangeCertificate

Thumbprint                                Services   Subject
----------                                --------   -------
559642FCD3DD4769D79A457D11875AF9E6E49F3C  ...WS..    CN=webmail.exchangeservergeek.com, OU=Exchange Server Geek, O=S...
The services column indicates what services are currently assigned to the certificate. In the example above, IIS (W) and SMTP (S) have been assigned to this certificate.
Other possibilities include POP (P), IMAP (I), and Unified Messaging (U).
Checking your work
Now that we have our new certificate installed, we need to test it to make sure it is working properly.
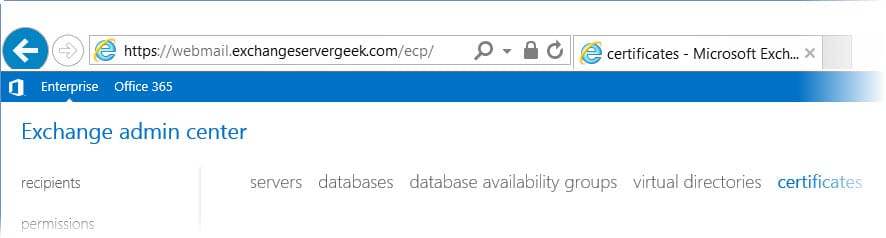
The easiest way to check is to enter your URL into a web browser. In our case, we enter https://webmail.exchangeservergeek.com/ecp. This should result in no certificate errors.
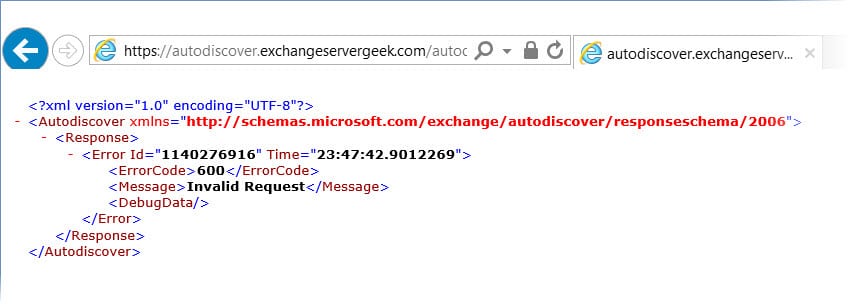
Let’s test AutoDiscover as well. In our case https://autodiscover.exchangeservergeek.com/autodiscover/autodiscover.xml. You will be prompted for credentials. Once entered, you will receive the following response. Despite it being an error, it is expected behavior. Autodiscover was expecting Outlook, not Internet Explorer.
Do the test results look good? Awesome! Your certificate is correctly installed.
More than one server?
If you have multiple Exchange servers, it is important that we copy this certificate to each Exchange Server. To do this, check our article on importing and exporting Exchange certificates.
Further Reading
Here are some articles I thought you might like.
- Generate a Certificate Request for Exchange 2016 and Exchange 2019
- Complete a Certificate Request for 2016 and Exchange 2019
- Assign Services to a Certificate for Exchange 2016 and Exchange 2019
- Import & Export SSL Certificates in Exchange 2016 and Exchange 2019
- Renew a Certificate in Exchange 2016 & 2019
- Generate a Certificate Request for Exchange 2013
- Complete a Certificate Request in Exchange 2013
- Import & Export a Certificate in Exchange 2013
- Renew a Certificate in Exchange 2013

I always like the detail of your articles. You have bits of information others don’t. Thanks.