In this article, we examine the process of generating a certificate request for Exchange 2016. We explore how to accomplish this using the Exchange Admin Center and PowerShell.
In future articles, we will explore completing that request, assigning services to the certificate, and importing that certificate to other Exchange servers.
Let’s get started!
Note: These steps are identical for Exchange 2013, Exchange 2016 CU22 and earlier, and Exchange 2019 CU11 and earlier. If you are using Exchange 2016 CU23 or greater or Exchange 2019 CU12 or greater, you must generate your certificate with all new PowerShell commands covered in the following article.
Generate a Certificate Request with Exchange Admin Center
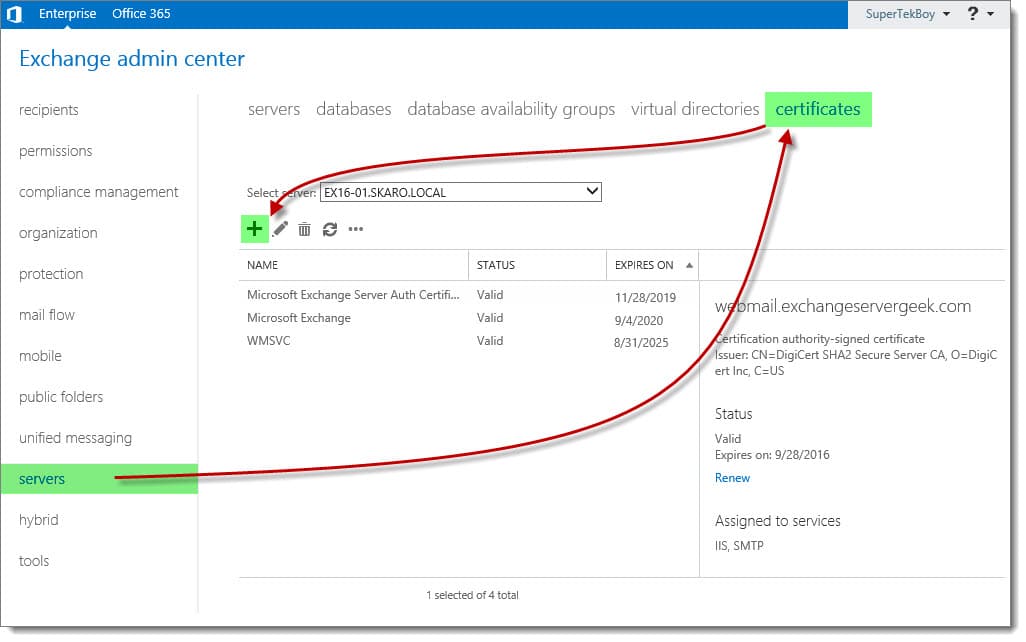
Log in to the Exchange Admin Center (EAC). Select the Servers tab and Certificates subtab.
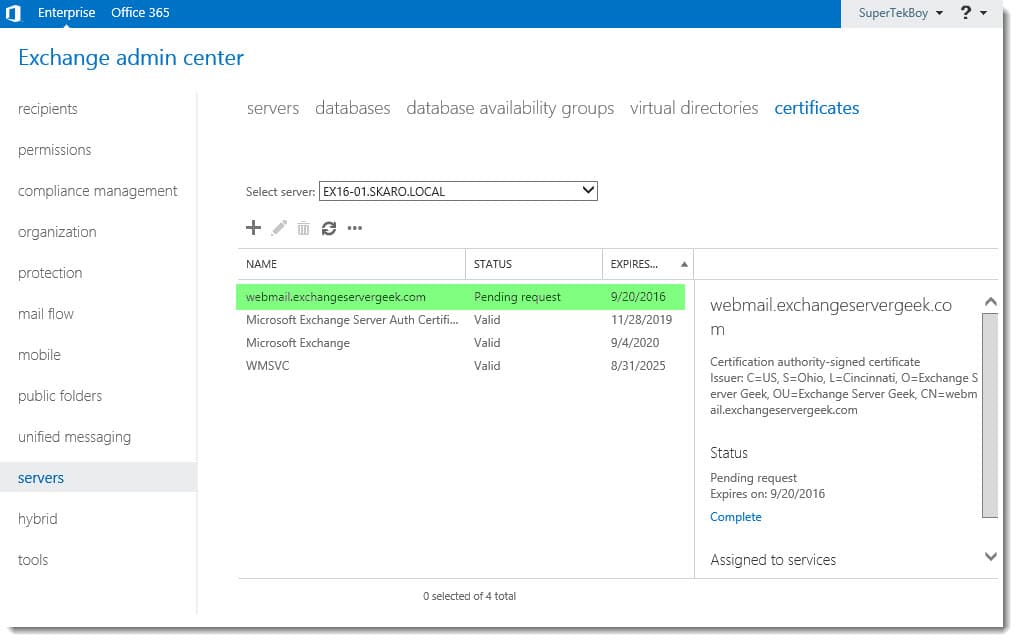
This page displays all currently installed Exchange certificates. These three self-signed certificates are installed with Exchange out of the box. The self-signed certificate titled “Microsoft Exchange” is the one that Exchange is currently using for all of its web services. That’s the one that we will replace with a trusted 3rd party certificate.
Like its predecessor, Exchange 2016 maintains the Certificate Request Wizard. This wizard takes all the guesswork out of generating a certificate request.
To launch the wizard click the New (+) button.
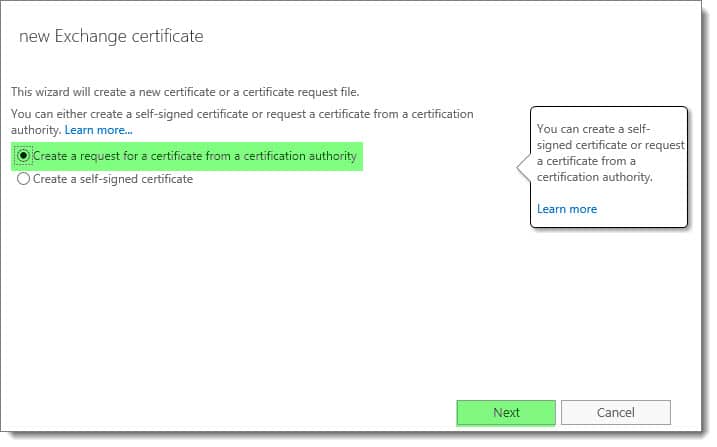
In the New Exchange Certificate wizard, select Create a request for a certificate from a certification authority. Click Next.
In the Enter a friendly name field, enter a display name for your certificate.
This is what will appear under the Name column on the main certificates page. You should choose a name that will easily identify the certificate. My personal preference is to make the name the same as the subject of my certificate. For example, webmail.exchangeservergeek.com.
When ready, click Next.

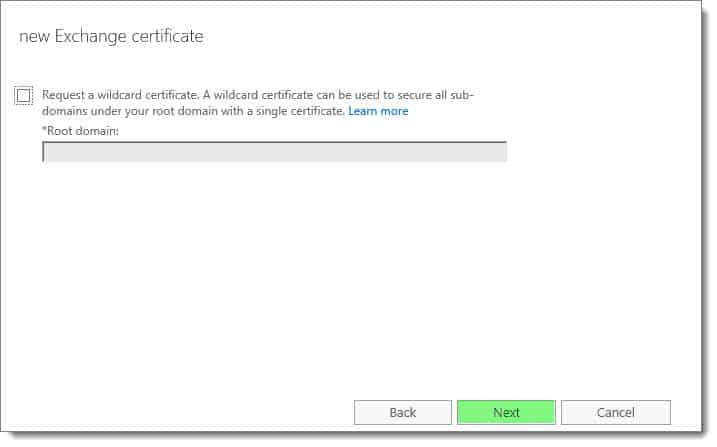
Leave the wildcard unchecked. Click Next.
Click Browse. Select the Exchange server you wish to store this request on. Click OK. Click Next.

The next screen identifies all the names you have configured in your namespace. You can make edits here if you like. I typically skip past this and make changes on the following screen. Click Next.
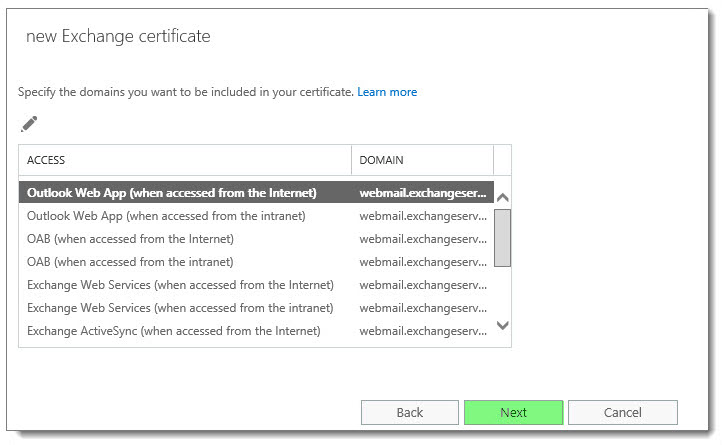
Select the Add, Edit, or Remove buttons to make any tweaks to the names you require on your Exchange certificate.
Be sure to remove any internal hostnames from the certificate request. Third-party certificate providers no longer allow internal hostnames on certificates. An example of an internal hostname would be anything that ends .LOCAL or .PRIV. In short, it is any top-level domain that is not routable on the internet.
In our example, we had to remove SKARO.LOCAL and EX16-01.
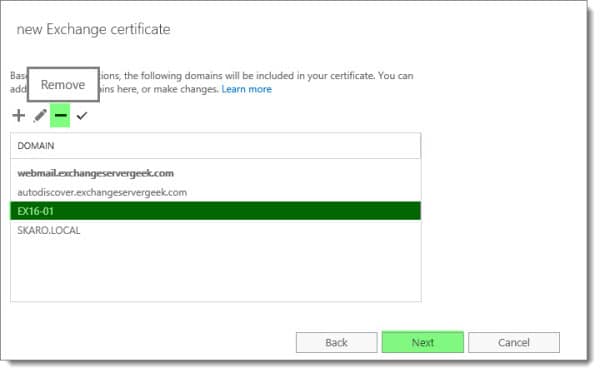
You can also confirm which name is Set as the common name (in our example, this is webmail.exchangeservergeek.com).
The end result is that this screen should contain every name you have configured on your Exchange server. In our environment, our clients will use autodiscover.exchangeservergeek.com for Exchange discovery and webmail.exchangeservergeek.com for all other services.
Click Next.

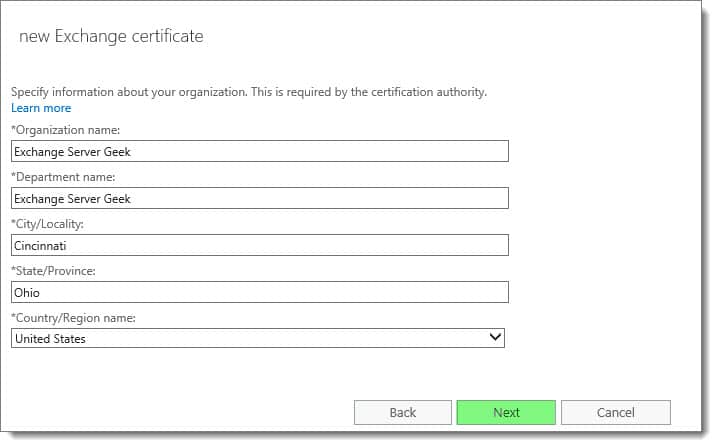
Complete all organization information. Click Next.
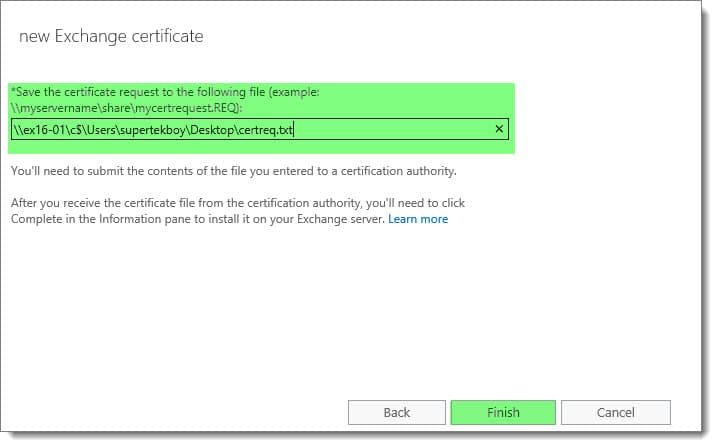
Specify a UNC path to where you want to save the certificate request file. In our example, we saved this to our desktop as a text file. Click Finish.
You will notice we have a certificate in a Pending Request state. This leads us right into our next section.
Generate a Certificate Request with PowerShell
If you prefer to generate the certificate request from PowerShell, you would use the New-ExchangeCertificate cmdlet. Using our example from the wizard, our command would look like this:
C:\> New-ExchangeCertificate –Server EX16-01 –GenerateRequest –FriendlyName webmail.exchangeservergeek.com –PrivateKeyExportable $true –SubjectName "c=US, s=Ohio, l=Cincinnati, o=Exchange Server Geek, ou=Exchange Server Geek, cn=webmail.exchangeservergeek.com" –DomainName webmail.exchangeservergeek.com,autodiscover.exchangeservergeek.com –RequestFile "\\EX16-01\c$\users\supertekboy\desktop\certreq.txt"
In this command:
- -Server specifies the server to generate the request on.
- -GenerateRequest prepares a 3rd party certificate request, not self-signed.
- -FriendlyName is what you see under the name column in the GUI.
- -PrivateKeyExportable allows you to export/import the certificate to other Exchange servers.
- -SubjectName is the primary FQDN for the certificate.
- -DomainName is the subject alternate names for the certificate.
- -RequestFile is the export file for the certificate request.
Processing a certificate request
Before we can use our certificate, we must process this request through a third-party certificate provider. There are plenty out there, but I personally recommend DigiCert (affiliate). Not only do they have fantastic technical support, but they also have some really neat certificate tools. Best of all, their certificate turnaround time is incredibly fast (even on a Sunday at 7:42 pm–yep, personal experience right there.).
The specific steps for each certificate provider are different, but the principles remain the same. You provide a certificate request. The provider validates your identity. The provider then issues you a certificate.
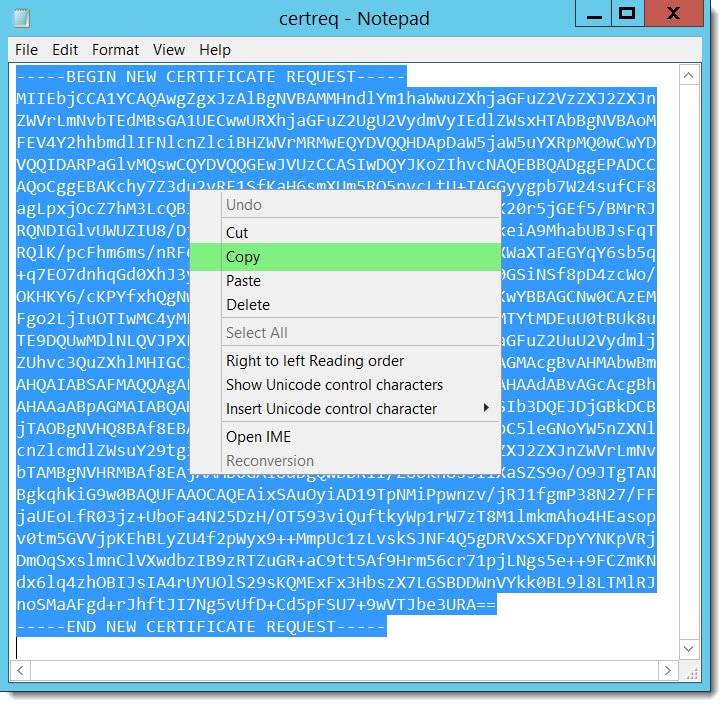
First, we need to get the certificate request we created in the previous section. This should have created a file on your desktop (or the path you specified). Open this file with Notepad and copy the entire contents, including the BEGIN and END lines.
Next, we need a Unified Communications (UC) certificate. This is also referred to as a Subject Alternative Name (SAN) certificate. As mentioned above, I recommend DigiCert (affiliate). However, for a full list of Microsoft recommended certificate authorities check https://support.microsoft.com/en-us/kb/929395.
At some point, the 3rd party certificate authority will ask you to paste the contents of the CSR file into their system for processing. From this file, the provider will identify all the subject and alternate names you need. The validation process will then begin.
The validation process can vary between providers as well. Some providers will perform a simple domain validation where they send an email to the recipients listed on your domain registration. Others will perform more extensive checks, including the validation of your business against various agencies.
Once your identity has been validated and your certificate approved, download and unpack the cert. You will then be ready to complete your certificate request.
Further Reading
Here are some articles I thought you might like.
- Generate a Certificate Request for Exchange 2016 and Exchange 2019
- Complete a Certificate Request for 2016 and Exchange 2019
- Assign Services to a Certificate for Exchange 2016 and Exchange 2019
- Import & Export SSL Certificates in Exchange 2016 and Exchange 2019
- Renew a Certificate in Exchange 2016 & 2019
- Complete a Certificate Request in Exchange 2013
- Assign Services to a Certificate in Exchange 2013
- Import & Export a Certificate in Exchange 2013
- Renew a Certificate in Exchange 2013

Leave a Reply