If you are like me and like to work on a mobile device at night, or, just work with the lights off, then dark mode is for you. I find dark mode helps with eye strain. In addition, many sources also report that a dark color scheme helps conserve battery power on mobile devices.
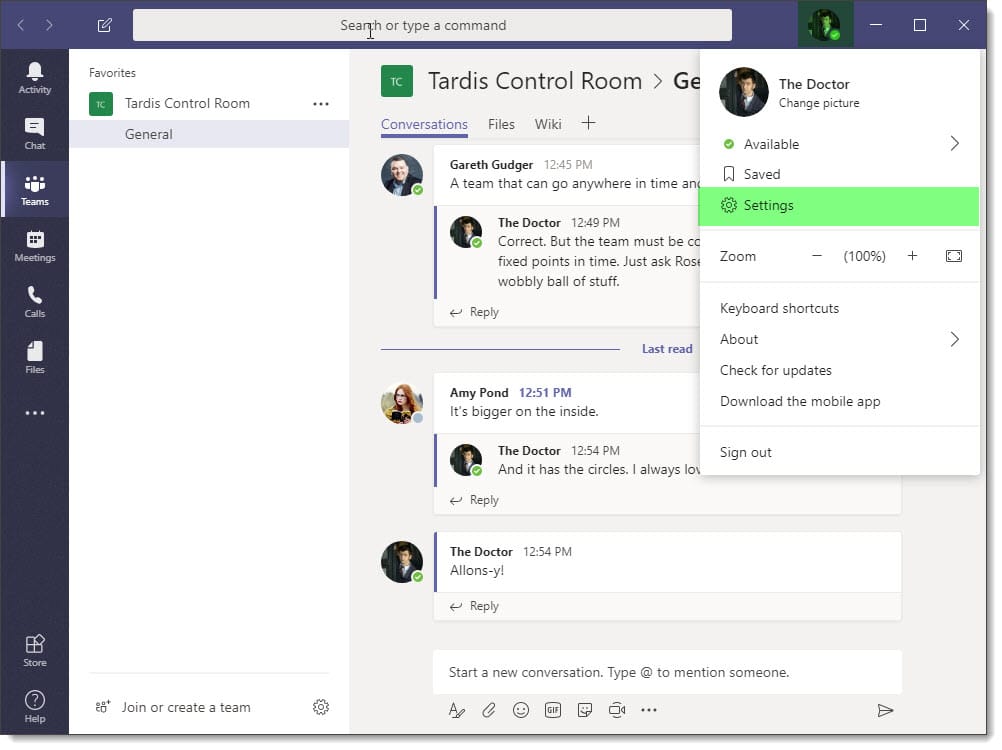
The mobile client of Microsoft Teams has such a mode.
Let’s get started!
Enabling Dark Theme in Teams Mobile
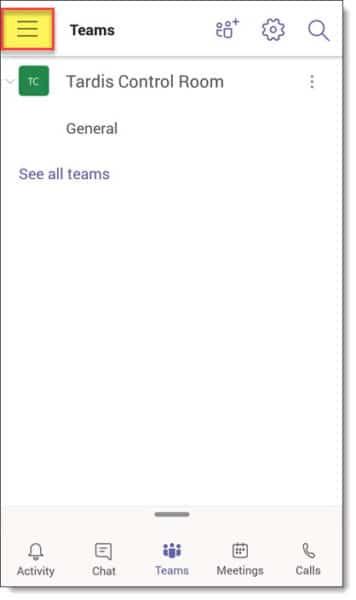
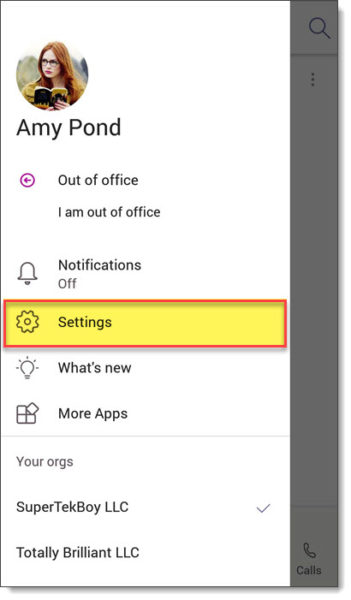
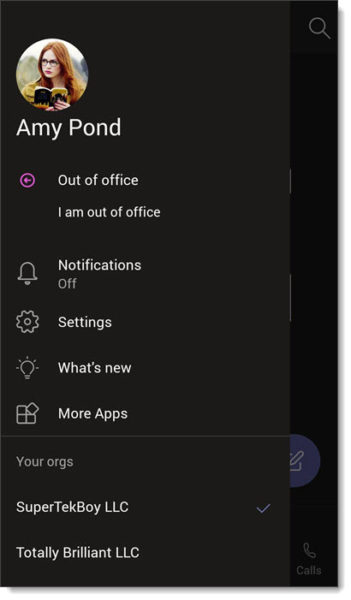
To enable dark theme in Microsoft Teams Mobile, click the Menu button in the top-left and then Settings.
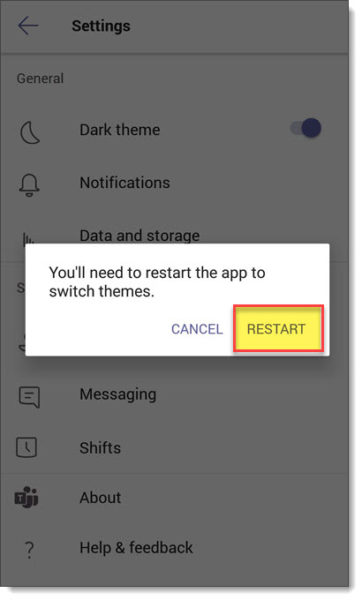
From the Settings page click the toggle to the right of Dark theme to on. When you do this, you will be prompted to restart the application. Click Restart. The Teams app will now restart.

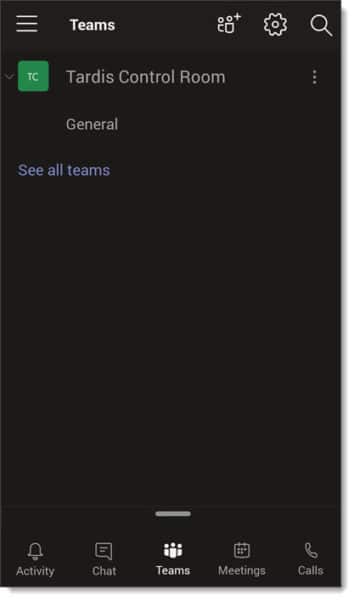
When the Microsoft Teams client restarts it will now be in dark mode.
To revert simply repeat the above steps, but toggle the Dark theme to the off position.

What do you think about this feature? Drop a comment below or join the conversation on Twitter @SuperTekBoy.